
X201pro WiFi Digital Microscope Driver
Quick Access
Android & IOS Phones
Windows
Mac
Part One: Android & IOS Phones
Cainda X201 WiFi Microscope can be used on IOS/Android Smart Devices via the wifi connect.
Step1: Download the app
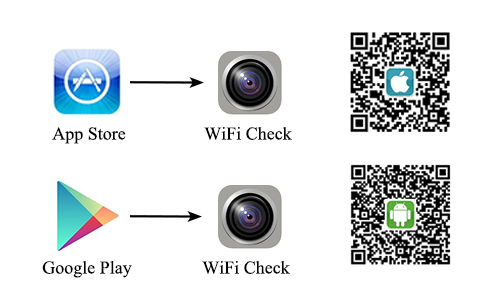
You can download the "WiFi Check" app on App store or Google Play.
App store Download Link: "WiFi Check"
Google Play Download Link: "WiFi Check"
Or you can scan the QR code below to download the "WiFi Check" app.
Step2: Turn on your microscope
Long press the power button for 3 seconds to turn on the microscope.
(You can see the red&blue indicator light and the LED light on.)
Step3: Connect it with your phone
Access to the WiFi settings of your phone, find the wifi named "HD-Microscope-xxxx". (No password.)
Click it to connect. (It may remind “unsecured network” or “unavailable to access internet” which is normal.)
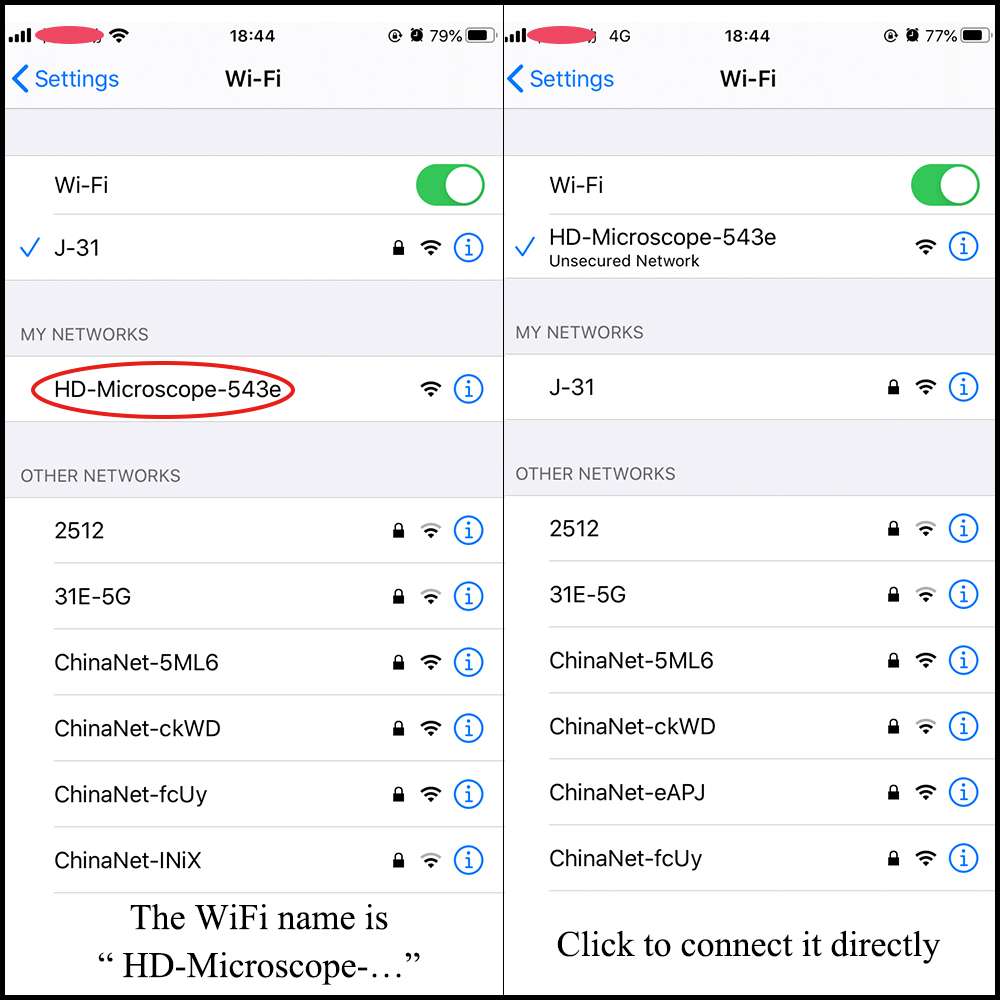
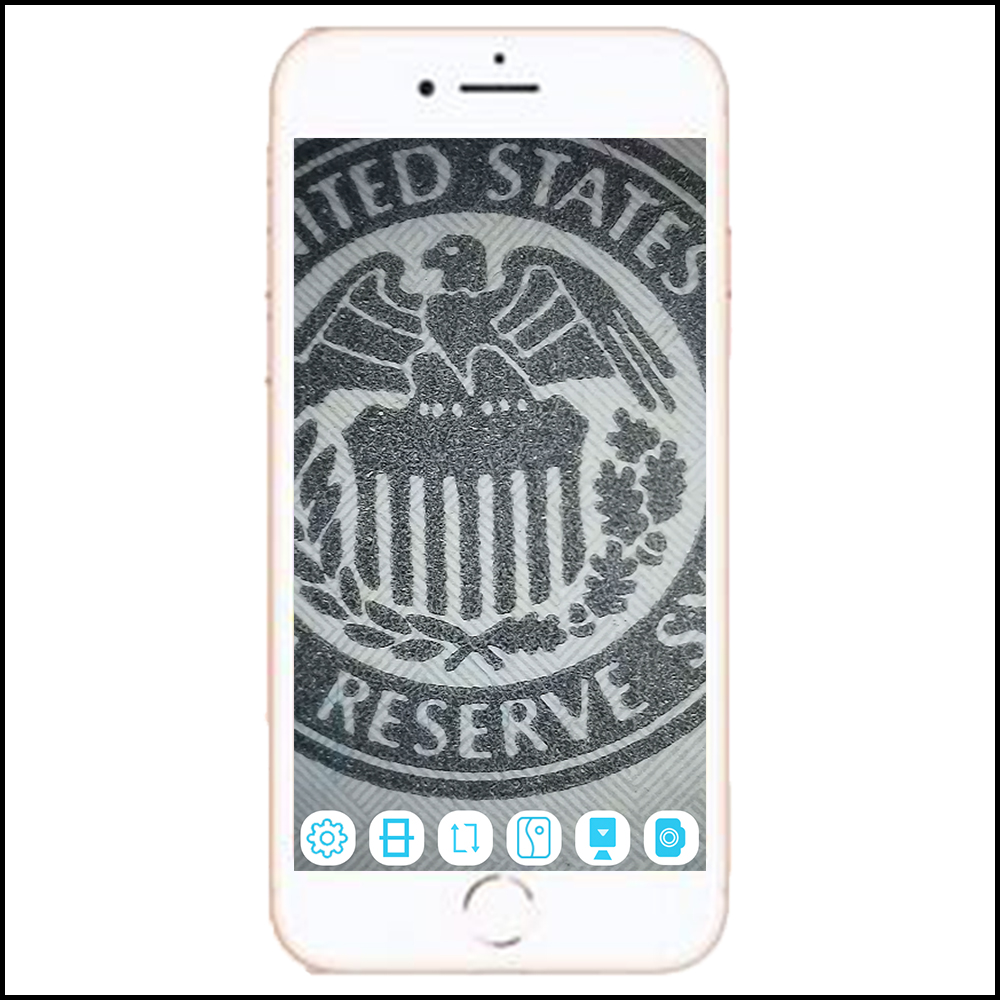
After connecting successfully, open the “WiFi Check” app and you can see the microscope image.
If you can only get a black screen, please check if you have allowed the “WiFi Check” app to access WiFi/WLAN.
(1) When you connect it to your phone, And you can’t use the “WiFi Check” app to access the Internet unless you disconnect it.
(2) Low power can cause video transmission to be interrupted. Please full charge it before using. The charge indicator red light would stay on when it is charging. After it’s full charged, the charge indicator would go off.
If you have any trouble while using, please email us for assistance: cainda-seller@outlook.com
Part Two: Windows
1) Win10 Built-in Software
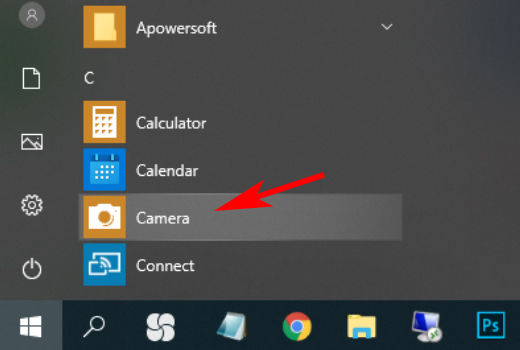
If you are a Win10 user, you can open its built-in camera app to use this microscope directly.
You can click the "Windows" logo on the left to find the "Camera" app in Start menu.
Connect the microscope to your computer via the USB cable and then you can see the image.
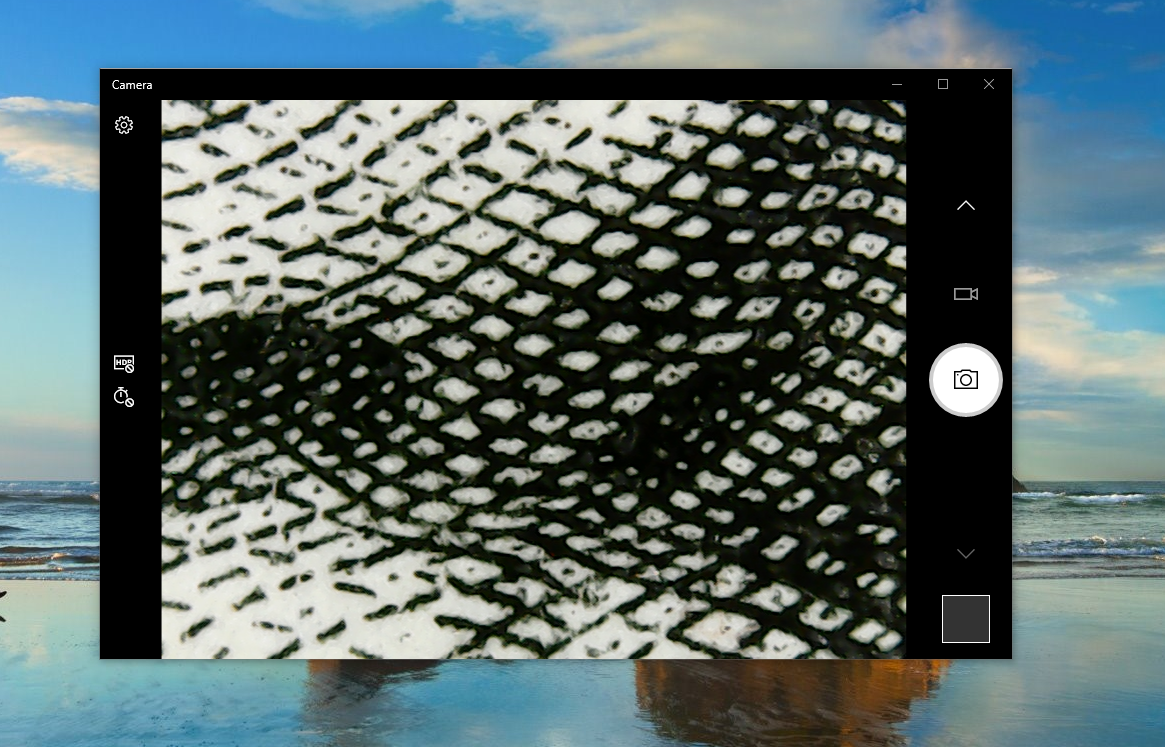
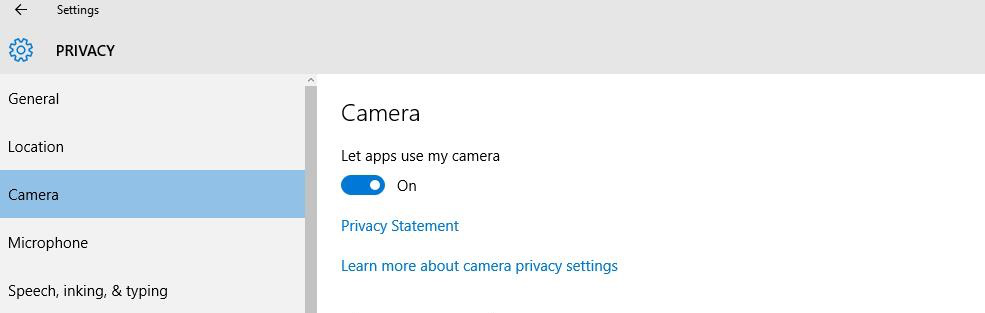
Please set up the privacy setting to let apps access the camera if can’t get the image on software.
Windows 7 8 10 user can choose to use the "xploview" camera app.
Step 1: Download the "xploview"
Please download the "xploview.exe" via the link below to install:
xploview.exe(3.87MB) | Windows XP, Vista, 7, 8, 10 | 32/64 bit
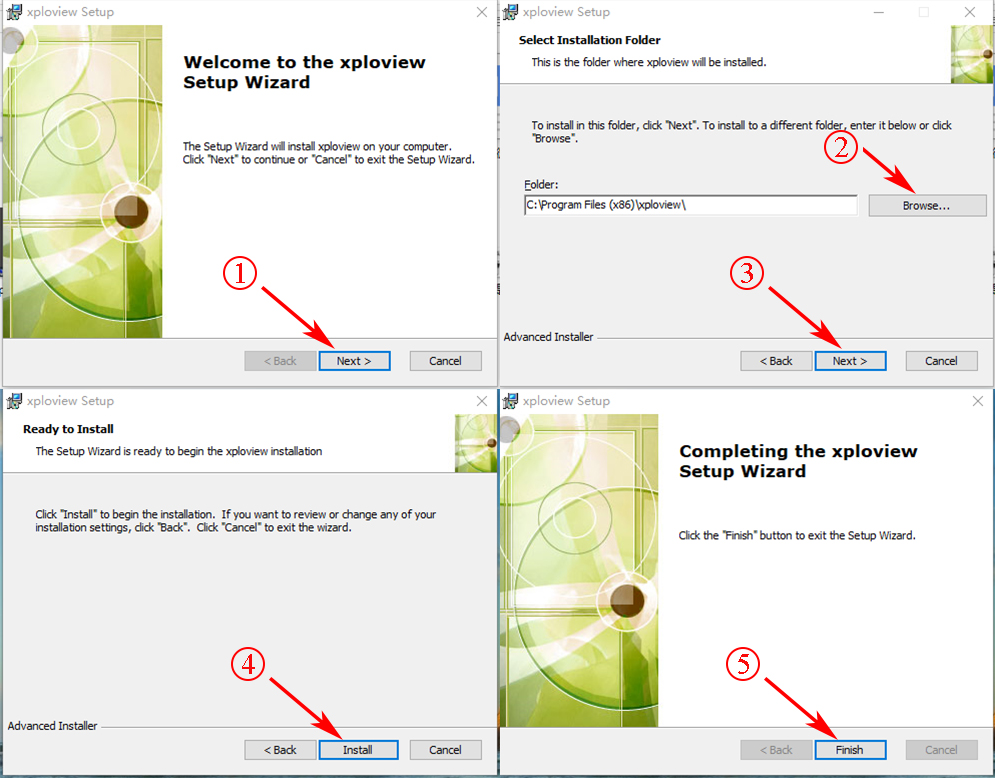
Step 2: Install the "xploview"
Double click the "xploview.exe" and follow the steps below:
Plug the USB microscope into your computer and remove the microscope lens cover.
Run the "xploview" app and click “Settings” – “Device” to select “GENERAL-UVC” on the dropdown list, finally click "Apply".

If you need help, please contact us via cainda-seller@outlook.com
Part Three: Mac
1) "Photo Booth" app
Mac user can open the “Photo Booth” app to use this microscope.
Plug the microscope to your Mac. Click to open the "Photo Booth" software.
Click "Camera" on the top menu and select the "GENERAL-UVC" on the dropdown list.
2) "xploview" Software
Mac user can also use the "xploview" camera app.
Please download the "xploview.exe" via the link below to install:
xploview_v3.3.31.pkg
xploview.dmg
If you still have any problem about your microscope, please contact us via cainda-seller@outlook.com