F190 Digital Otoscope Driver
Driver for Cainda Digital Otoscope F190
Quick AccessAndroid & IOS Phones
Windows
Mac
Use on Android & IOS Phones
Cainda F190 digital otoscope can be used on IOS/Android Smart Devices via the wifi connect.
Due to product upgrades, the latest F190 otoscope's app is "Common Scope” (The old version uses “WiFi Look"). Maybe you would receive the new version otoscope and old manual. If the app downloaded via your paper manual doesn't work with your otoscope, please download the another one app to try again.
Step1: Download the app
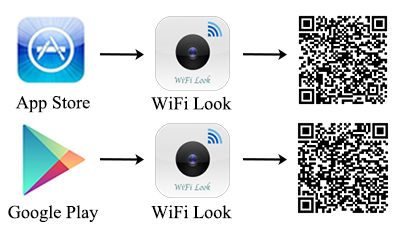
WiFi Look
You can download the "WiFi Look" app on App store or Google Play.
App store Download Link: "WiFi Look"
Google Play Download Link: "WiFi Look"
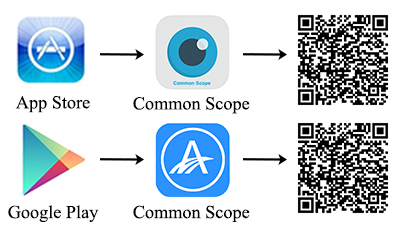
Common Scope
You can download the "Common Scope" app on App store or Google Play.
App store Download Link: "Common Scope"
Google Play Download Link: "Common Scope"
You can download the "Common Scope" app on App store or Google Play.
App store Download Link: "Common Scope"
Google Play Download Link: "Common Scope"
Connect the otoscope to the wifi box(note that selecting the correct port). Long press the power button for 3 seconds to turn on the wifi box.
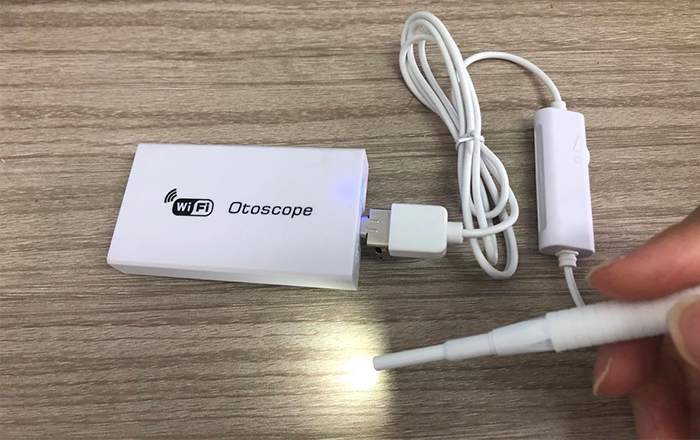
Access to the WiFi settings of your phone, find the wifi named "WiFiLook_xxxxxxxx". Click it to connect.
If your otoscope use the "Common Scope", the wifi name should be "HD Scope_xxxxxxxx"
(It may remind “unsecured network” or “unavailable to access internet” which is normal. Please don't worry for it.)
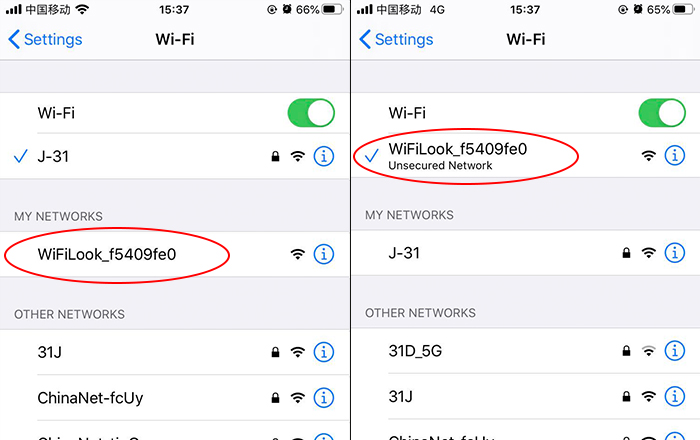
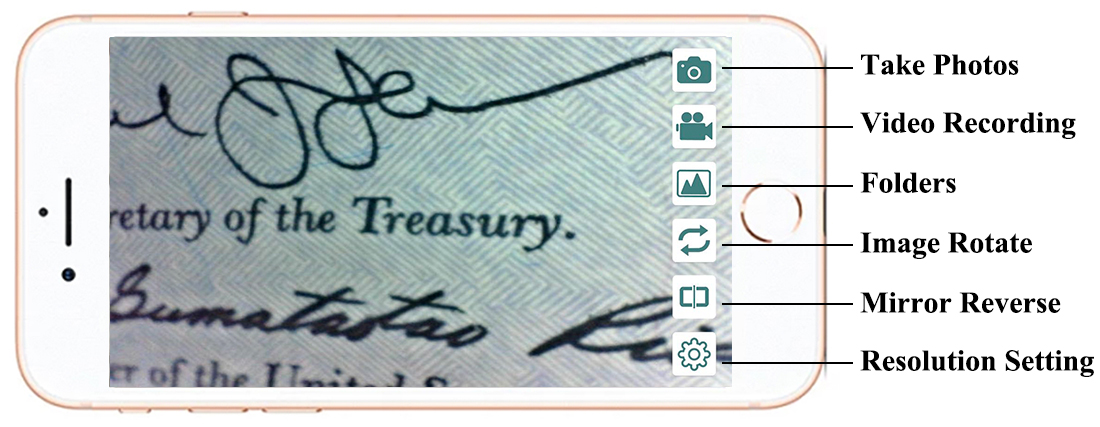
After connecting successfully, open the app and you can see the image. Now you can use it to check your ear.
Use on Windows
1) Win10 Built-in Software
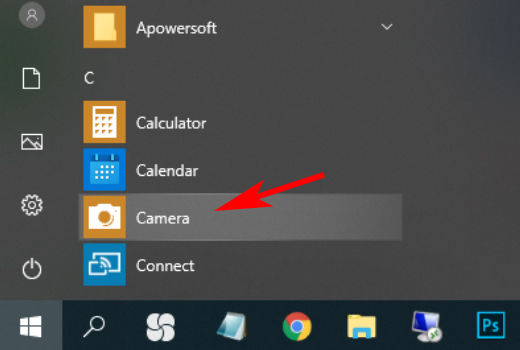
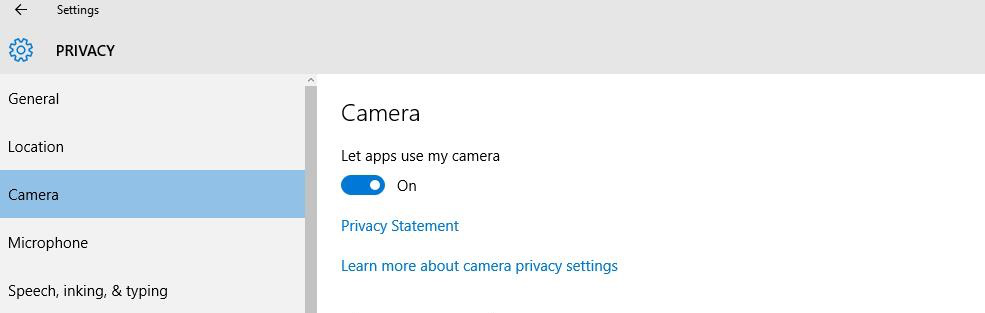
If you are a Win10 user, you can open its built-in camera app to use this otoscope directly.
You can click the "Windows" logo on the left to find the "Camera" app in Start menu.
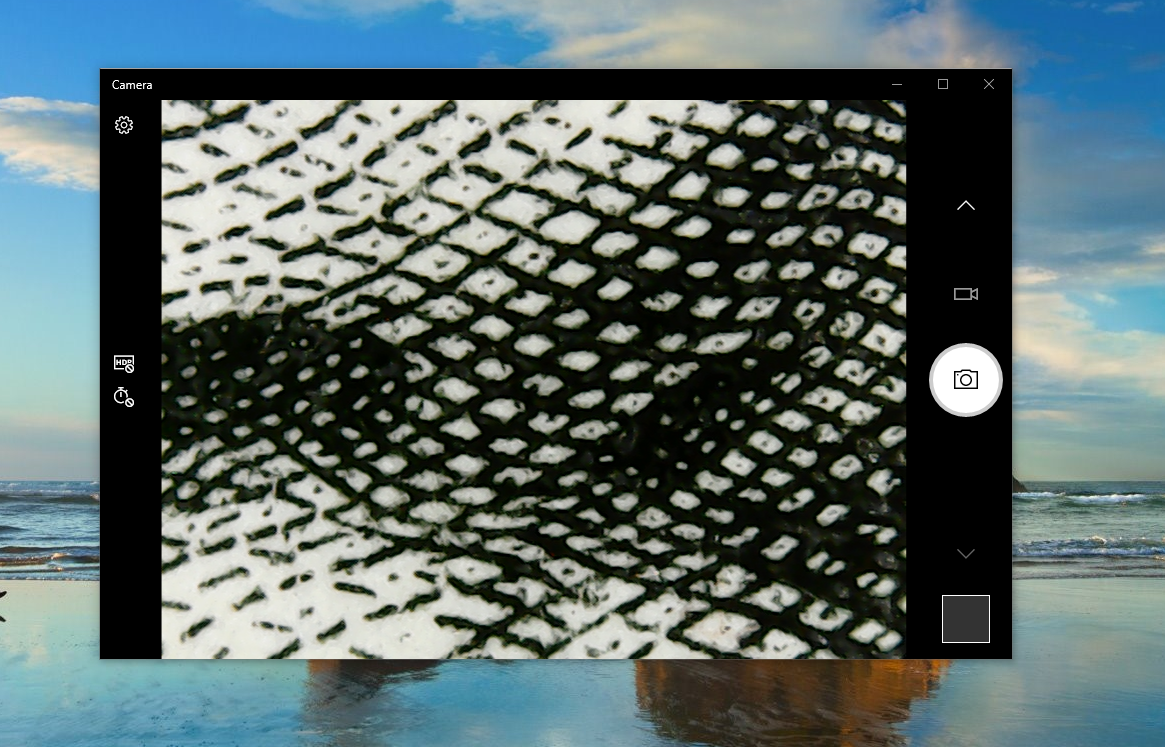
Connect the microscope to your computer via the USB cable and then you can see the image.
Windows 7 8 10 user can choose to use the "xploview" camera app.
Step 1: Download the "xploview"
Please download the "xploview.exe" via the link below to install:
xploview.exe(3.87MB) | Windows XP, Vista, 7, 8, 10 | 32/64 bit
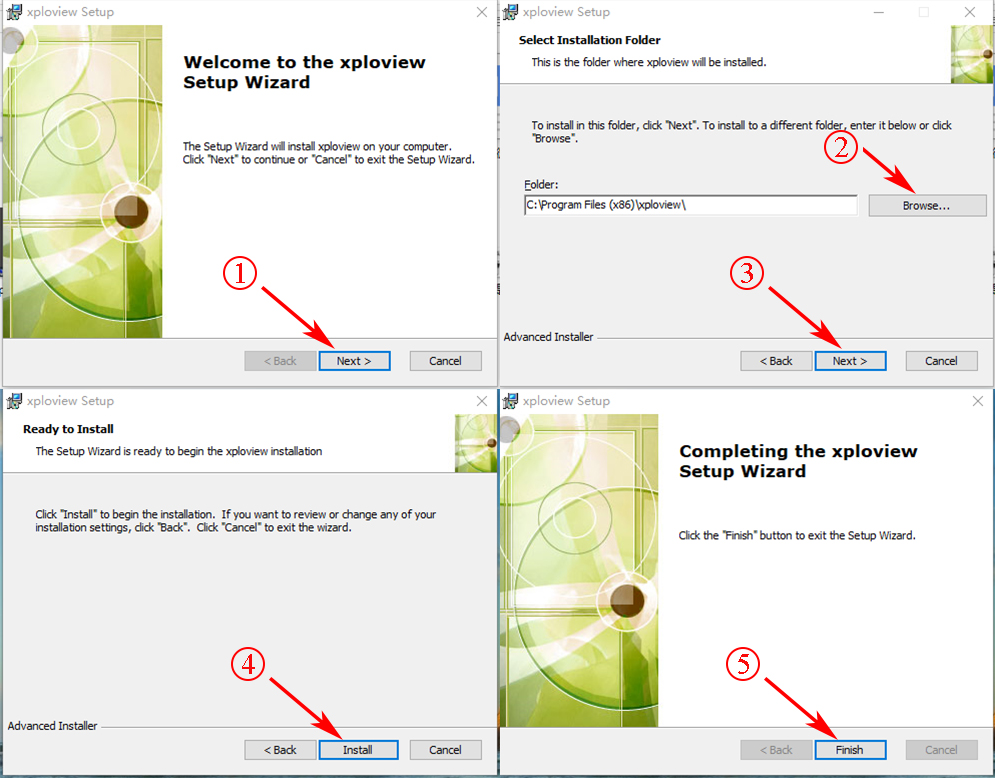
Step 2: Install the "xploview"
Doube click the "xploview.exe" and follow the steps below:
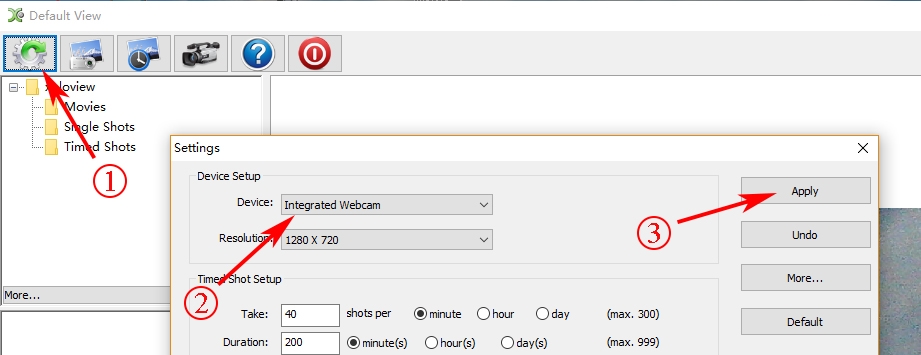
Plug the USB cable into your computer.
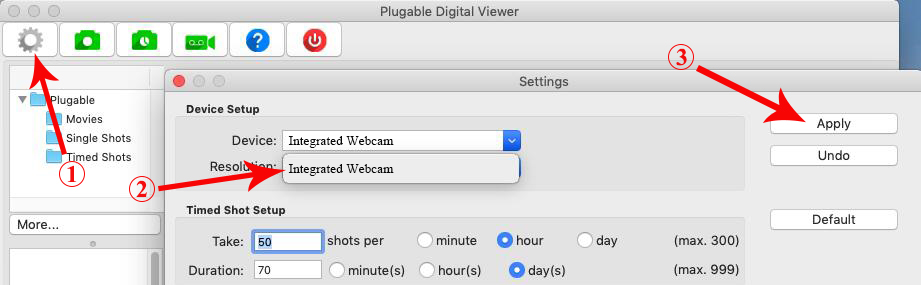
Run the "xploview" app and click “Settings” – “Device” to select “Integrated Webcam” on the dropdown list, finally click "Apply".
3) Amcap
Windows user can also download and install the "Amcap" camera app to use.
Step 1: Download the “Amcap” and extract
Please download the “Amcap” software package via this link:
Amcap.zip(3.38MB) | Windows XP, Vista, 7, 8, 10 | 32/64 bit
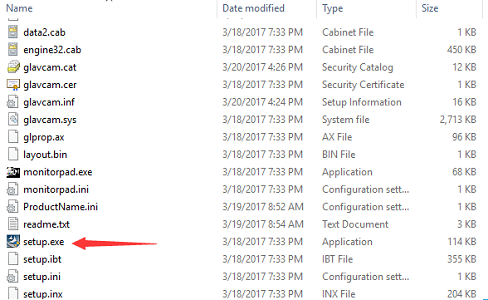
After finishing download, right-click the "Amap.zip" and select “Extract All...” to extract it out.
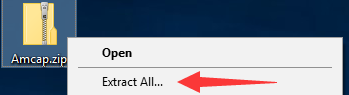

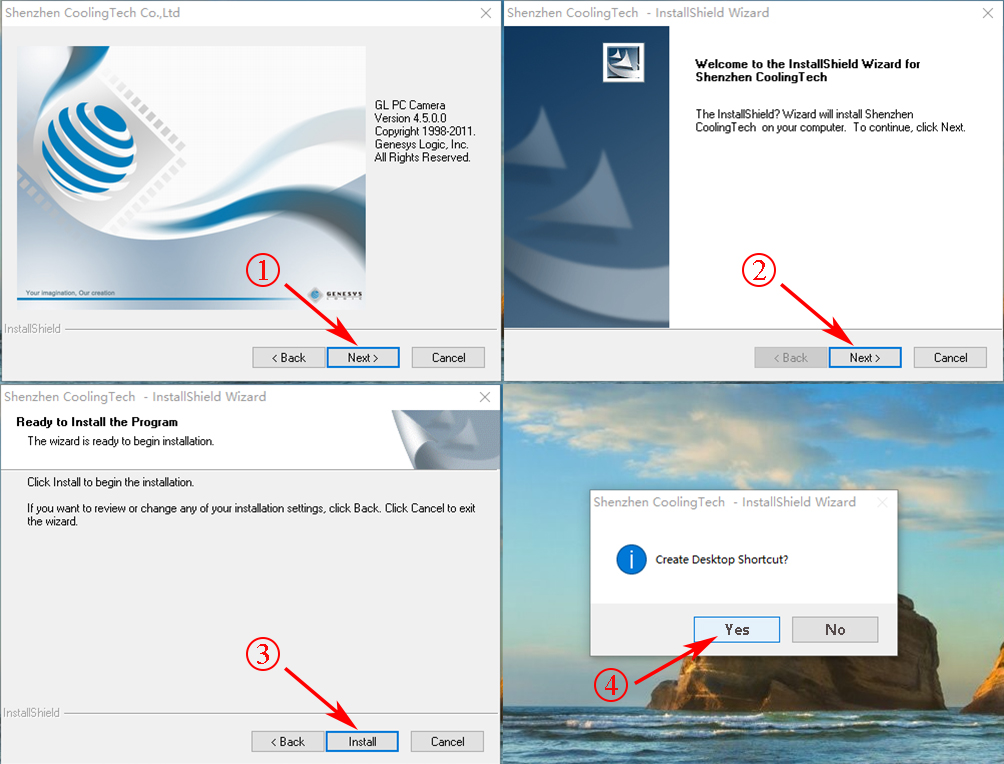
Open the "Amcap" folder and double click the “setup.exe” to install the "Amcap" app.
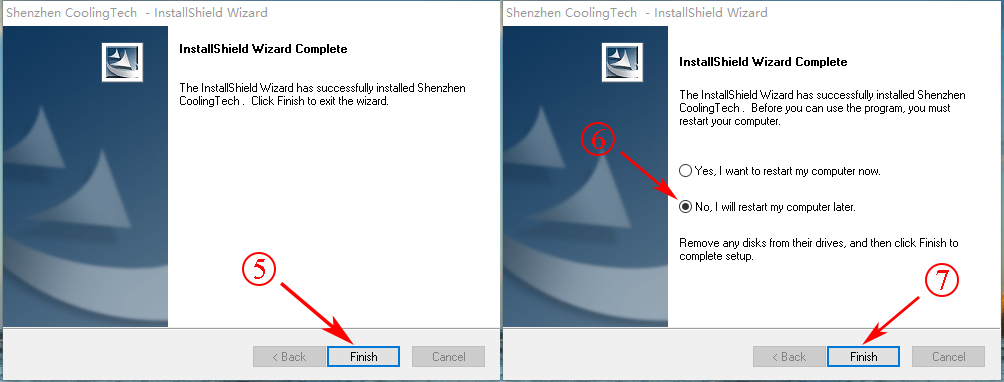
Please select "No, I will restart my computer later", or your computer will shut down and restart immediately.
Plug the microscope into the computer and remove the microscope lens cover.
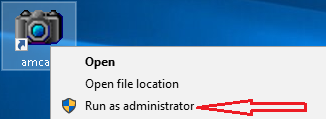
Right click the Amcap and select "Run as administrator" to open the Amcap software.
Click "Devices" on the top menu and select the "Integrated Webcam" on the dropdown list.

You need to set up the snapshot location for pictures on Amcap when you first use it. Otherwise you will not be able to save pictures or videos.
Pictures: Select “Capture” – Snapshot Location – Find or new a folder and click “Open”.
Videos: Click “File” – “Set Capture File”. Find and select an avi format video file. Click “Open”.
Note: If you need any help, please contact us via cainda-seller@outlook.com
Use on Mac
1) "Photo Booth" app
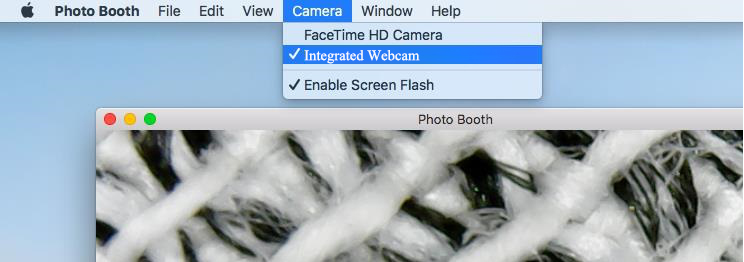
Mac user can open the “Photo Booth” app to use this microscope.
Plug the microscope to your Mac. Click to open the "Photo Booth" software.
Click "Camera" on the top menu and select the "Integrated Webcam" on the dropdown list.
"Digital Viewer" App is compatible with a general-purpose Mac microscope.
Please check your Mac version and choose the right one to install on your Mac:
Digital_Viewer_3.3.30.pkg(8.66MB) | macOS (10.13.4 and later) | 64 bit
Digital_Viewer_3.1.08.dmg(2.67MB) | Older macOS / OS X versions (10.5 and later) | 32 bit
Plug the microscope into the Mac computer and run the "Digital Viewer" app.
Click “Settings” – “Device” to select “Integrated Webcam” on the dropdown list.
Then click "Apply" to make the microscope work.